




A good sign makes a business easier to find. A memorable sign gives people something to remember. Sometimes that takes more than a flat printed panel: a sculpted logo, deep lettering, a glowing outline, or a display that brings a product to life. This is where 3D printing opens up useful possibilities for custom signage.
At Catzilla Signs by Quarter Cheaper Signs LTD, our ELEGOO OrangeStorm Giga adds another way to create dimensional elements alongside printing, CNC routing, and traditional sign fabrication. It allows us to explore shapes that would be awkward to build from flat sheets alone, while combining printed components with acrylic, graphics, lighting, and suitable mounting hardware.
For businesses in Port Coquitlam, Coquitlam, Port Moody, and Greater Vancouver, the benefit is practical: more freedom to develop a sign around your brand, your space, and the way customers experience your business.
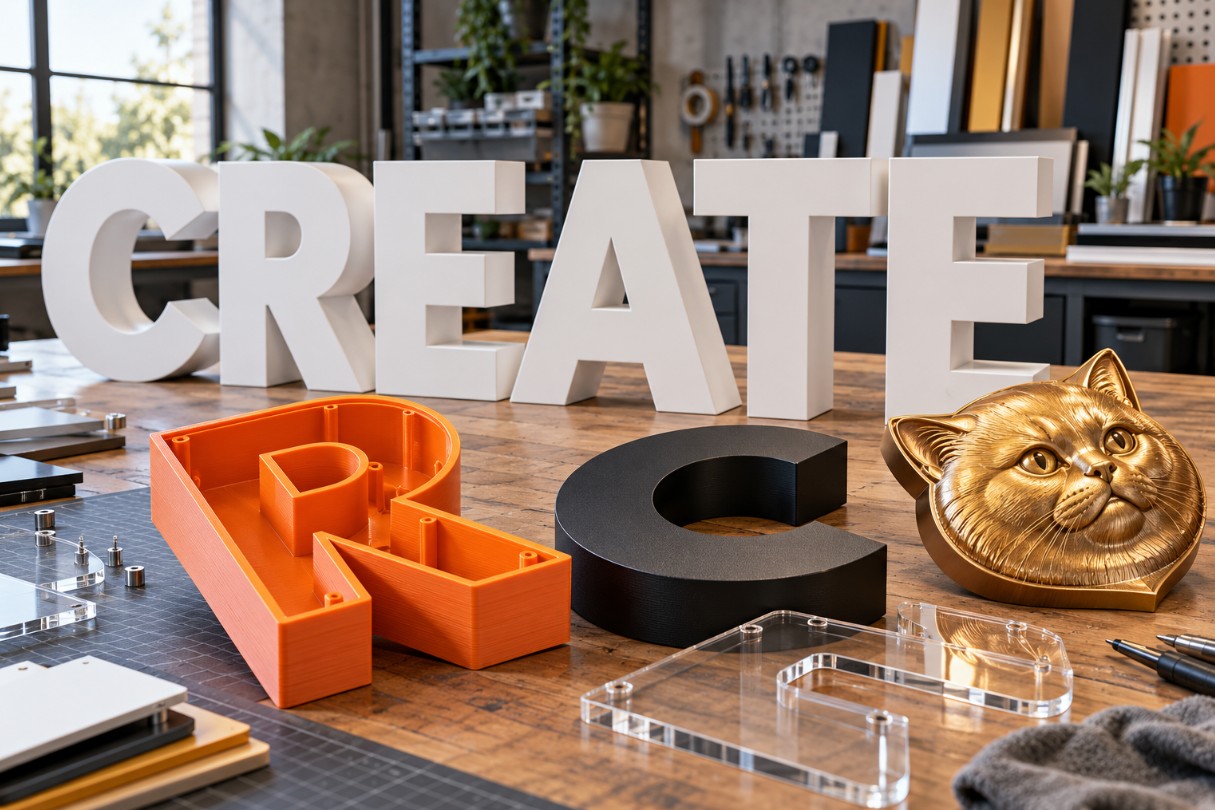
Concept examples of dimensional lettering, printed sign bodies and sculptural branding.
What Does 3D Printing Bring to Sign Making?
Most signs start with a two-dimensional design. A printer puts graphics onto a surface, or a cutter removes letters from a sheet. A filament 3D printer works differently: it builds a physical object in successive layers, creating depth, curved surfaces, cavities, and other features within the same part.
That makes it useful for letter bodies, sculptural logos, small display stands, and custom components. A printed part can include space for lighting, a removable cover, or a feature that helps it fit another element. The design is developed for its intended function, rather than simply making an existing flat graphic thicker.
The finished appearance also depends on preparation. Some projects suit visible print texture; others need sanding, filling, primer, paint, or a separate face. Choosing that finish early helps keep the result consistent with the brand.
Our ELEGOO OrangeStorm Giga: More Room for Larger Ideas
Our ELEGOO OrangeStorm Giga has a manufacturer-specified build volume of 800 × 800 × 1000 mm, approximately 31.5 × 31.5 × 39.4 inches. This generous printing envelope gives us room to develop larger individual components than a typical desktop printer can accommodate.
For signage, that space can be useful for substantial letters, display elements, and sculptural forms. Depending on the geometry and printing orientation, a component may fit as one piece, reducing the number of joints needed during assembly. Larger designs can still be divided into sections and joined after printing.
The build volume is a design limit, not a promise that every shape of those dimensions can be produced in one piece. Supports, clearances, material behaviour, and finishing requirements all affect the final production plan. We assess the actual model before recommending a construction method.
1. Dimensional Letters Without Lighting
Raised letters are one of the most straightforward applications. A business name, slogan, or set of initials can be given depth and mounted on a wall, reception backdrop, or sign panel. The result catches light and creates shadows that flat graphics cannot reproduce.
3D printing is particularly useful when a letter needs an unusual profile, rounded edges, or a decorative shape. Separate faces and bodies can also create contrasting colours. For a clean corporate finish, printed lettering can be prepared and painted to suit the surrounding interior. Letter size, viewing distance, and the chosen font guide the amount of detail worth including.
2. Bodies for Illuminated Channel Letters
Printed bodies can form part of an illuminated letter system. A hollow shell creates room for lighting components, while an acrylic face provides the visible front surface. The body, face, rear panel, and mounting arrangement are designed to work together.
This approach can be useful for custom shapes and smaller lettering where conventional fabrication becomes fiddly. However, printing the shell is only one stage. Light distribution, heat, access for maintenance, wiring, and the installation environment still need attention. The appropriate lighting and electrical requirements must be established for the complete sign, rather than inferred from the printed housing alone.
3. Letters with Grooves for LED Neon Flex
Another option is a letter or logo with a channel shaped to accept a flexible LED neon product. Instead of attaching the light to a flat backing, the printed body can position it within a recessed path that follows the design.
The groove must match the selected lighting product, including its dimensions, bending direction, and minimum bend radius. A design with a front body and separate rear cover can provide access to wiring and assembly points. This technique suits bold lettering, simple outlines, and selected logo shapes. Fine script and tight corners need careful review because the light cannot follow every curve a printer can create.
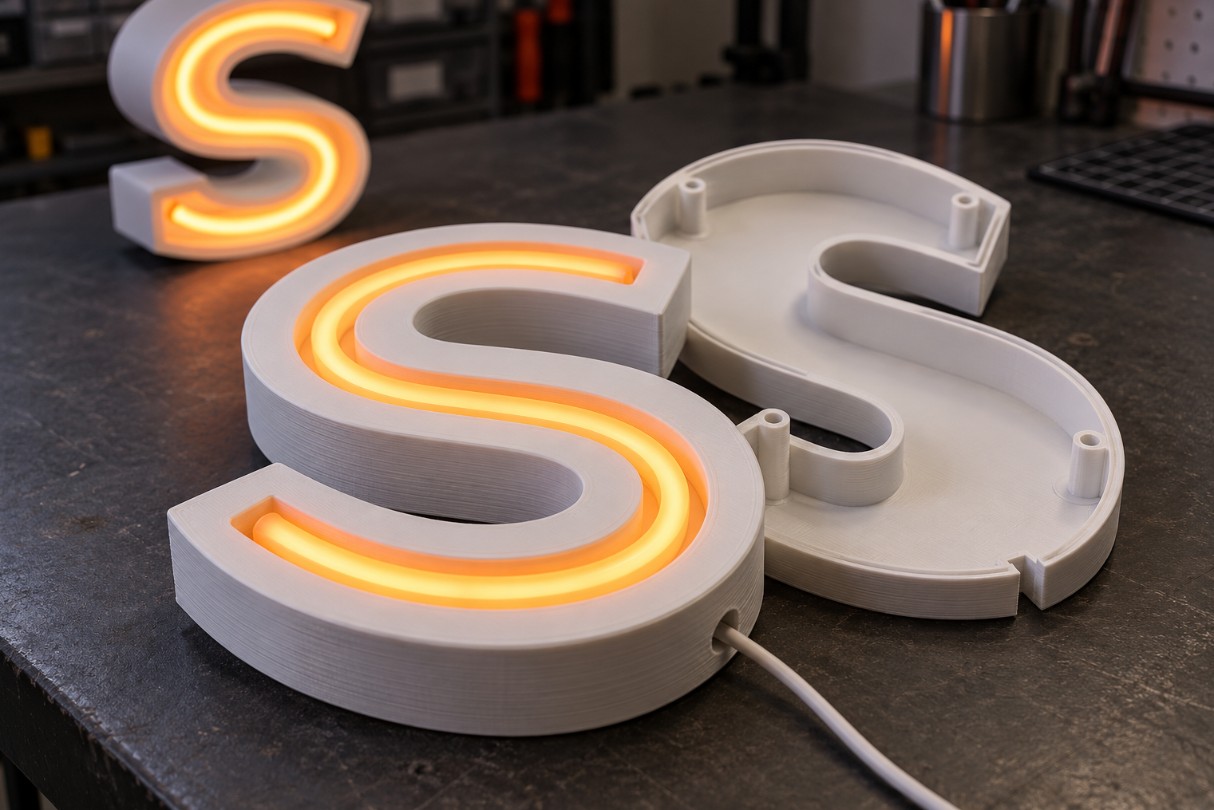
Illustrative concept of a letter body with a fitted LED neon flex channel and a separate rear cover.
4. Halo-Lit Letters and Logos
Halo lighting directs light towards the mounting surface, creating a glow behind the lettering. A solid or opaque front keeps attention on the outline and the illuminated space around it. It can work well for reception areas and feature walls.
A printed housing can incorporate space for lighting and features for mounting at a planned distance from the wall. The wall itself becomes part of the effect: its colour, texture, and reflectivity influence the appearance. A sample or test section is useful when the intended glow is an important part of the design, especially with dark or strongly textured backgrounds.
5. Sculptural Logos and Brand Mascots
Some brands are best represented by a shape rather than lettering alone. A dimensional animal head, emblem, product silhouette, or abstract symbol can become the centrepiece of a reception sign or display. 3D printing offers a way to develop those forms with depth and curved surfaces.
For Catzilla, a sculptural British Shorthair cat head is a natural example of how a mascot could move beyond a printed graphic. For other businesses, the equivalent might be a coffee bean, a dental motif, or a simplified product model. A flat logo often needs interpretation before it becomes a convincing three-dimensional object.
6. Address Signs, Room Numbers, and Raised Plaques
House numbers, office identifiers, and room plaques can combine a flat backing with printed raised elements. Contrast between the background and the lettering improves visual clarity, while depth adds a more substantial appearance.
This construction gives flexibility over typeface, border shape, and decorative details. A matte black panel with raised gold numbers is one possible treatment; a simpler white-and-black combination may suit a contemporary office. For exterior use, material selection, mounting, drainage, and exposure all need consideration. Raised text alone does not establish accessibility compliance, so any regulated wayfinding requirements should be specified at the beginning of the project.
7. Window Displays, Props, and Photo Opportunities
Retail displays often need an object that is larger, more distinctive, or more durable than a small decorative accessory. Printed props can represent a product, support a seasonal theme, or create a focal point in a shop window.
Larger pieces can be produced in sections and finished after assembly. A lightweight sculptural shell may be suitable for some displays, while others need an internal frame or a separate base. The practical questions matter as much as the appearance: how it will travel, where it will stand, whether customers can touch it, and how easily it can be stored between events.
8. Countertop Signs and Point-of-Sale Displays
Not every useful sign belongs on a wall. Countertop displays can hold menus, promotional cards, product information, or a printed QR code. A custom base allows the display to reflect the business identity rather than relying on a generic holder.
Printed stands can be shaped around the intended insert and viewing angle. They can also include raised branding or a replaceable panel, making updates easier. For QR displays, a clearly printed, high-contrast code on a flat surface is usually the sensible choice. It should be tested at the intended size and position before the finished display is put into use.
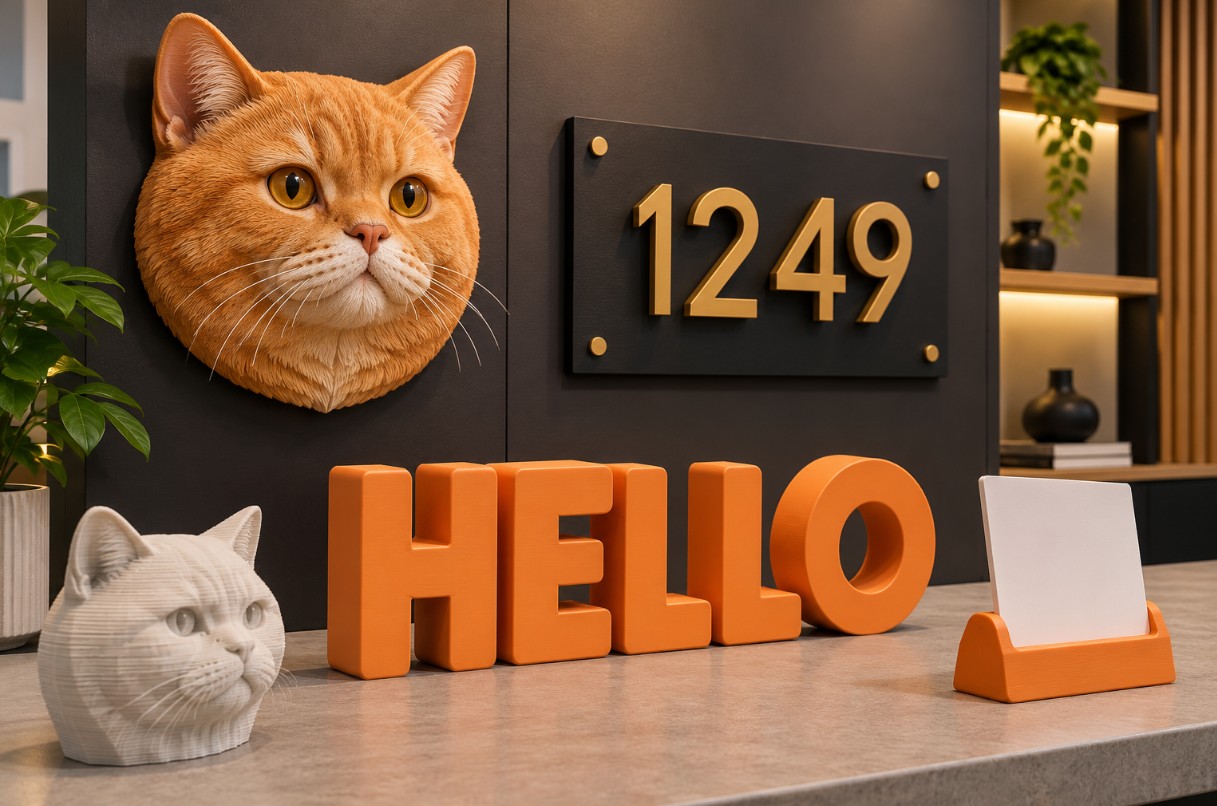
Concept examples of a sculptural mascot, freestanding letters and raised address numbers.
9. Custom Mounting and Assembly Components
Behind a finished sign, small components often solve awkward problems. Spacers, cable guides, covers, alignment aids, and adapters can be designed around a particular assembly when standard parts do not fit well.
3D printing makes these details easier to prototype and adjust. A cover can follow a specific contour, or a spacer can establish a consistent gap. Still, the material and construction must match the task. Decorative or positioning components differ from parts carrying substantial loads. Structural connections and overhead installations require suitable mounting systems; a printed component should only be used where its performance has been properly assessed.
10. Production Templates and Workshop Tools
Some of the most valuable printed parts never reach the customer. Drilling templates, positioning guides, assembly fixtures, and protective supports can help a sign shop repeat an operation accurately and reduce unnecessary handling.
A custom guide might establish consistent hole spacing or hold several letters in alignment during assembly. Another fixture could support an irregular logo while it is being finished. These tools can be revised as the process develops, which is especially useful for repeated projects. Better workshop organisation can contribute to a more consistent finished sign, even when the sign itself contains no printed plastic.
11. Prototypes and Approval Samples
A drawing communicates layout, but it cannot fully show how an object feels in space. A small printed model or a representative letter section can help confirm depth, proportions, edge shape, and the relationship between separate components.
For an unfamiliar construction, a sample can also reveal assembly problems before the full piece is produced. It may show that a detail is too thin, a cover is difficult to fit, or a particular finish needs more preparation. Samples are most useful when they answer a specific question. A reduced model demonstrates overall form, while a full-size section is better for judging texture and detailing.
12. Replacement Covers and Decorative Parts
Older signs sometimes lose a small cover, trim element, or other non-standard component while the main structure remains usable. When the missing part can be measured or reconstructed, 3D printing may provide a practical replacement route.
This involves more than copying the visible shape. The replacement must fit the existing assembly, suit its environment, and allow for the intended fastening method. A printed decorative cap is a different proposition from an electrical enclosure or a structural connector. Feasibility depends on the function of the missing piece, the condition of the sign, and the information available to recreate it.
Choosing Materials and Finishes
Material selection starts with where the item will be used. PLA can suit indoor models, prototypes, and decorative pieces away from heat. Its limited heat resistance makes it a poor default for exposed outdoor applications. PETG offers useful toughness for many functional parts, but its suitability still depends on the specific filament and conditions.
ASA is known for UV resistance and can be relevant to exterior work. It also demands appropriate printing conditions, particularly for large parts. Availability and production feasibility should be confirmed for each design rather than assumed from the printer’s size.
Finishing is equally important. Printed surfaces naturally show layers, and a smooth painted appearance requires additional labour. Coatings, separate acrylic faces, and contrasting components can change the look substantially. We consider the desired finish together with exposure, handling, and maintenance when developing the proposal.
From Your Logo to a Finished Sign
A useful enquiry starts with your logo, approximate dimensions, installation location, and a few reference images. Tell us whether the piece will be indoors or outdoors, whether lighting is required, and when you need it. Vector artwork helps with lettering and outlines; sculptural objects may require a separate modelling stage.
We can then discuss construction, finish, mounting, and any sample needed before production. Pricing depends on modelling work, size, material, printing time, finishing, lighting, and assembly. A large simple letter and a small detailed sculpture can involve very different amounts of labour.
Our ELEGOO OrangeStorm Giga expands the possibilities available at Catzilla Signs by Quarter Cheaper Signs LTD. Combined with familiar sign materials and fabrication methods, 3D printing gives businesses another way to turn a recognisable identity into a physical presence. Email your idea and project details to start a discussion about what would work for your space.